Last weekend I headed down to Texas for a couple of classes from John Chambers. We did Vehicle Gunfighting on Saturday and Defensive Shotgun on Sunday. The last time I took the S.I. vehicle gunfighting curriculum was back in 2010 when it was part of the Extreme Close Range Gunfighting class. It’s been a while, and I have a new vehicle which changes the dynamics of this sort of work.
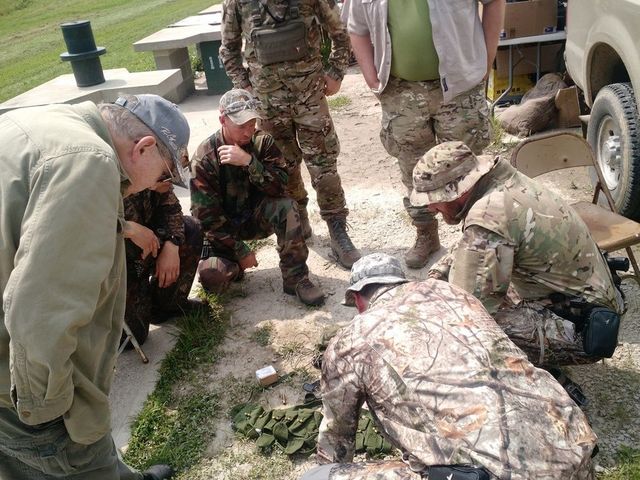
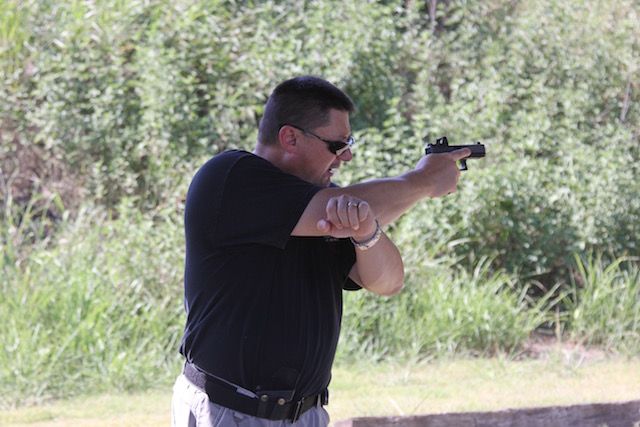
I brought my usual RMRed Glock 17 and Glock 19. While this is predominantly a pistol class, I also took my FS2000 with a Mini4 suppressor. This combination is the best long gun for fighting inside vehicles. The rest of the class were predominantly armed with Glocks. A few individuals brought other types of guns including a SIG and a M&P Shield. We also had a couple of AR pistols as well.
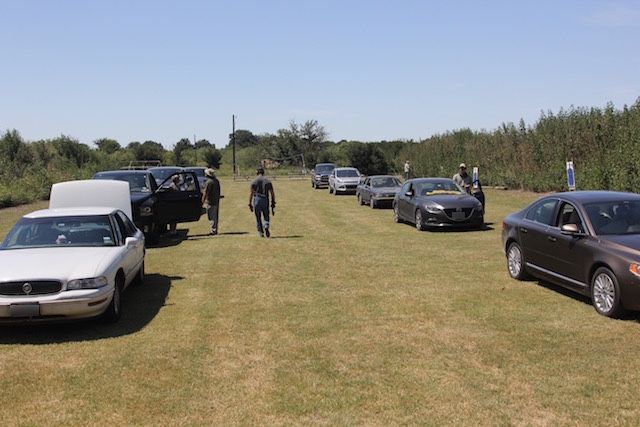
Of course, for this class your vehicle is just as much equipment as your firearm. I had my Ford Escape. The majority of the class had pickup trucks of one description or another, with a significant minority in cars.
I drove down to the Austin area on Friday. John was nice enough to let me crash at his place. Saturday morning we headed out to the range.
The Class
After getting the waivers out of the way, John went into the safety brief. After covering the usual four rules he talked about some of the safety aspects that are unique to this class. In maneuvering a handgun inside the confines of a vehicle you’re almost always going to be pointing the handgun at something you’d rather not shoot. Some of the time you may even have to muzzle your own body parts (particularly the legs) in order to draw and bring your gun to bear on the target. This all makes trigger finger discipline even more important.
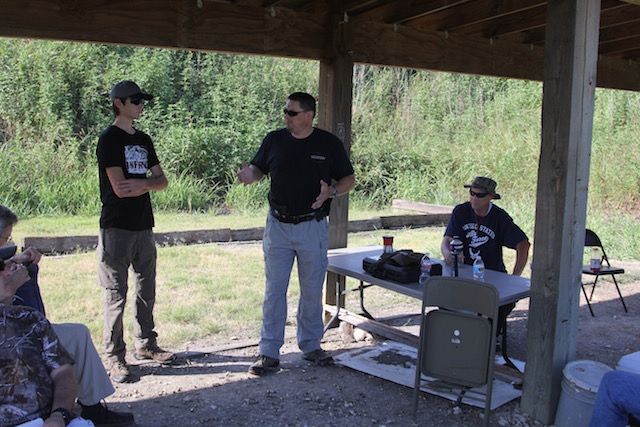
While this class is about vehicle gunfighting, John started off by emphasizing that the accelerator pedal should generally be our first choice. If we can get out of trouble by driving out of it that’s almost always going to be preferable to getting into a gunfight from inside your car. This may involve driving over an attacker or ramming your way past a barricade or another vehicle.
In addition to being a way to get out of a bad situation, our cars are also an extension of our homes. I’m sure that many of us have a small (or not so small) arsenal at home, and we can extend this to our vehicles. John covered some of the other options for equipping our cars. At the very least, we can throw some extra mags in there, if not additional guns, rifles, and other gear to help us deal with dangerous situations.
Finally, John talked about which parts of the car are cover and which area concealment. Really, the only parts of most vehicles that will reliably stop a full power rifle round are the engine block and wheels (specifically the axles/brake rotors). Every other part of the car is concealment, rather than cover. Even against handgun rounds, other parts of the vehicle might stop incoming fire, but that really depends on what particular structures they happen to hit. Again, they are concealment, not cover.
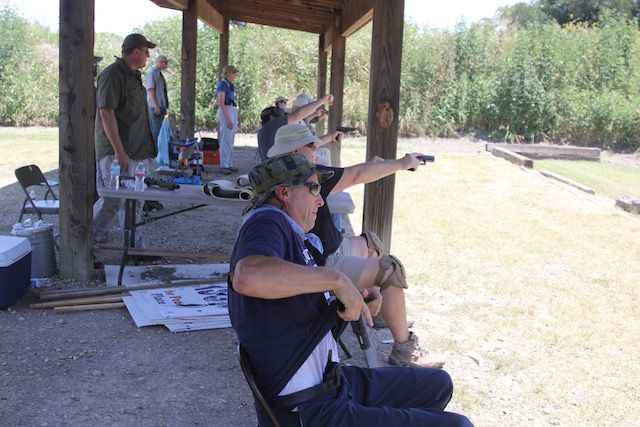
With the main lecture out of the way we started out by doing some dry drills out of chairs there on the range. We practiced drawing and addressing imaginary targets to the front, right, left, and rear.
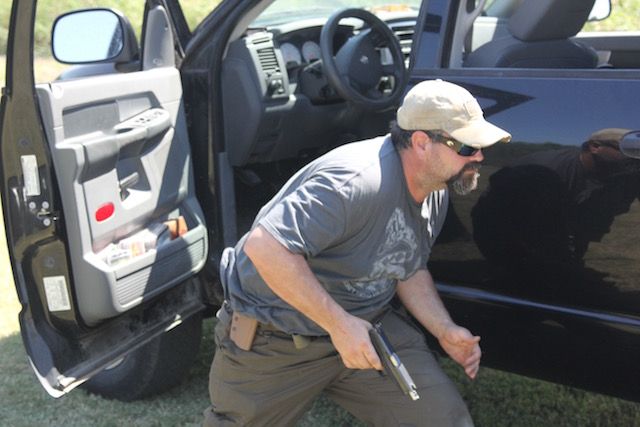
John also covered vehicle egress. If we aren’t able to drive out of the situation (our vehicle is disabled or blocked in) then we probably want to get out of the vehicle. Getting out affords better mobility and the opportunity to use cover more effectively. He talked about the sequence of events that needs to happen before you can bail out: stop the vehicle, remove your seatbelt, put the vehicle in park (it would really suck to have your cover start rolling away from you), open the door, and draw as you exit the vehicle. We mimed going through this sequence from the chairs there on the range.
With that, we broke for lunch. Many of the students had brought some lunch, but several of us drove into town to a store where they had some really good barbecue.
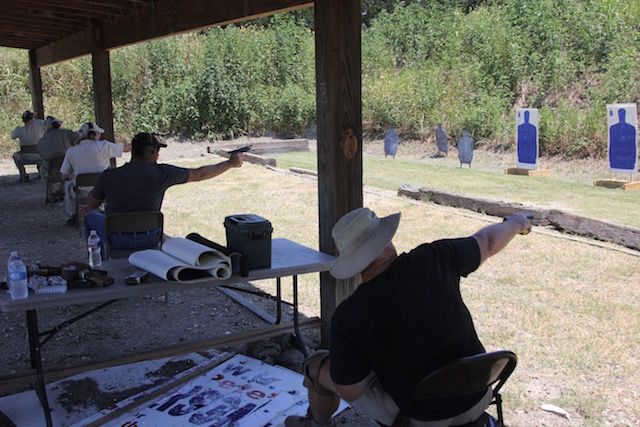
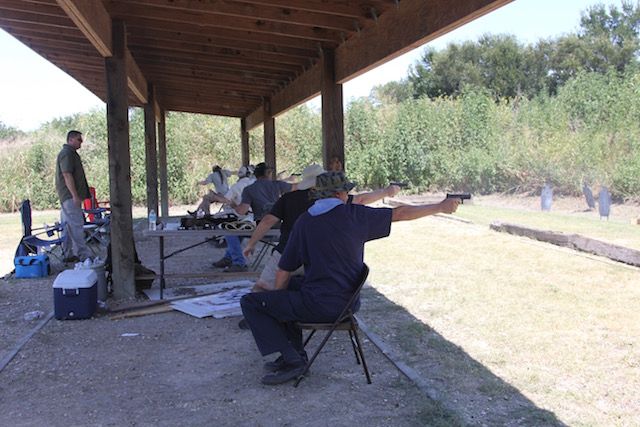
After everyone was done eating, we set the chairs back up and put some targets out to shoot. We began with some dry fire practice, drawing from a seated position and pointing in on a target to the front. Once everyone was comfortable doing this, we went live. Then we did the same thing to the right and left sides, first dry, then live.
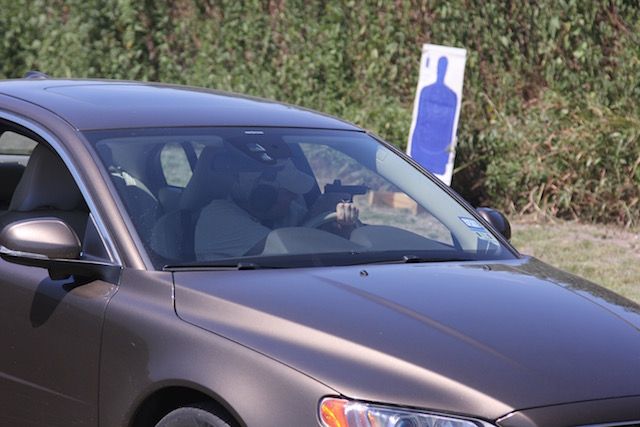
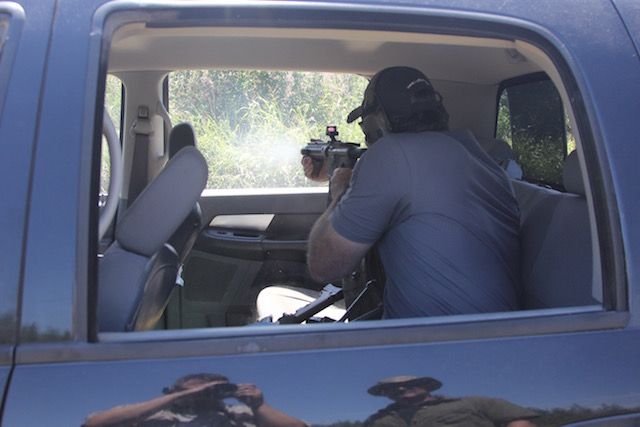
Usually at this point in the writeup I spend a couple of paragraphs ]up was shooting to the rear. This was one of the trickier directions, both in terms of actually doing it in a vehicle and in terms of range safety doing this on a range with a dozen people. John pointed out that this is an application where the “full Sabrina” (pistol pointed straight up) to keep from muzzling your passenger as you turn around and engage a target to the rear.
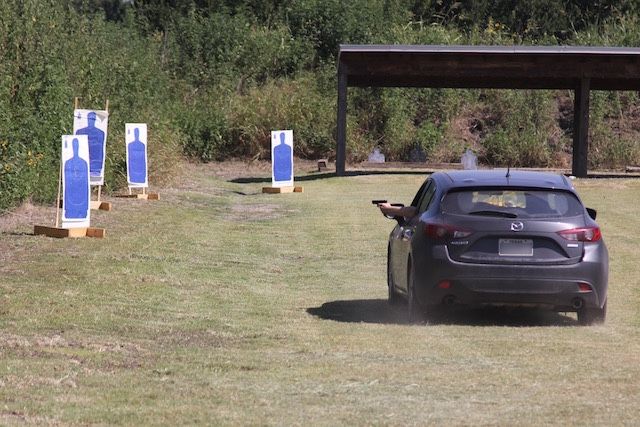
Now that everyone had practice doing live fire to the front, left, right, and rear, we rolled the cars out to do some actual shooting from the vehicles. We had a nice, long, horseshoe shaped bay, so we could line up everyone’s cars in two lines and engage targets up against the side berms of the bay. Doing this in bucket seats with seat belts adds another layer of difficulty. After everyone had a chance to shoot in one direction, we backed the vehicles out and swapped sides.
After shooting both right and left we moved on to doing some vehicle egress. In order to practice doing this and addressing threats in various directions without moving the vehicles around a lot we did this dry. Some folks found themselves getting tangled up in their seat belts. One trick I like fore undoing the seat belt is to do it with the left hand and to reach behind the shoulder belt strap to push the release button. This gets you completely out of the belt the moment it’s released.
For the final exercise we did a bit of shooting from moving vehicles. John set up targets down the left side of the bay. Each student drove down the bay engaging targets on the driver’s side, then turned around and drove back out engaging through the passenger side window.