Gear
Last weekend I took Roger Phillips’ Fight Focused Handgun IV: Fight Focused Marksmanship. Roger has been talking about teaching some sort of sighted fire focused class for a long time, even back before he went independent. And for just about as long a time I’ve been encouraging him to do it. He finally took the plunge last year, but unfortunately I wasn’t able to make it. I was really happy when he put it on the schedule for 2016.
For those that know of Roger Phillips solely as “the point shooting guy”, teaching a sighted fire course may seem a bit incongruous. That’s not really the case. Roger has always preached the need for a solid sighted fire skill set as a counterpart to point shooting skills.
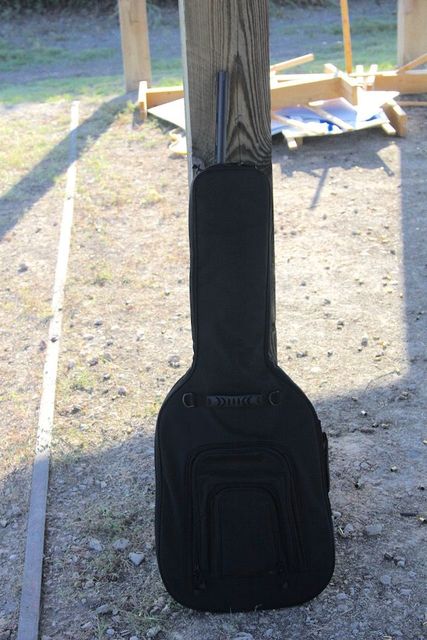
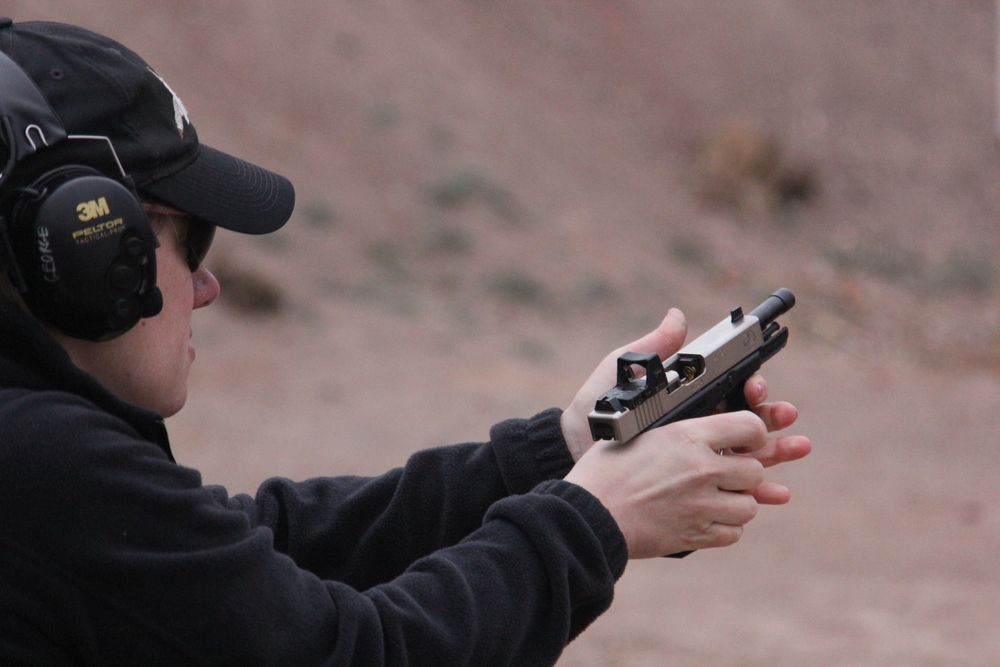
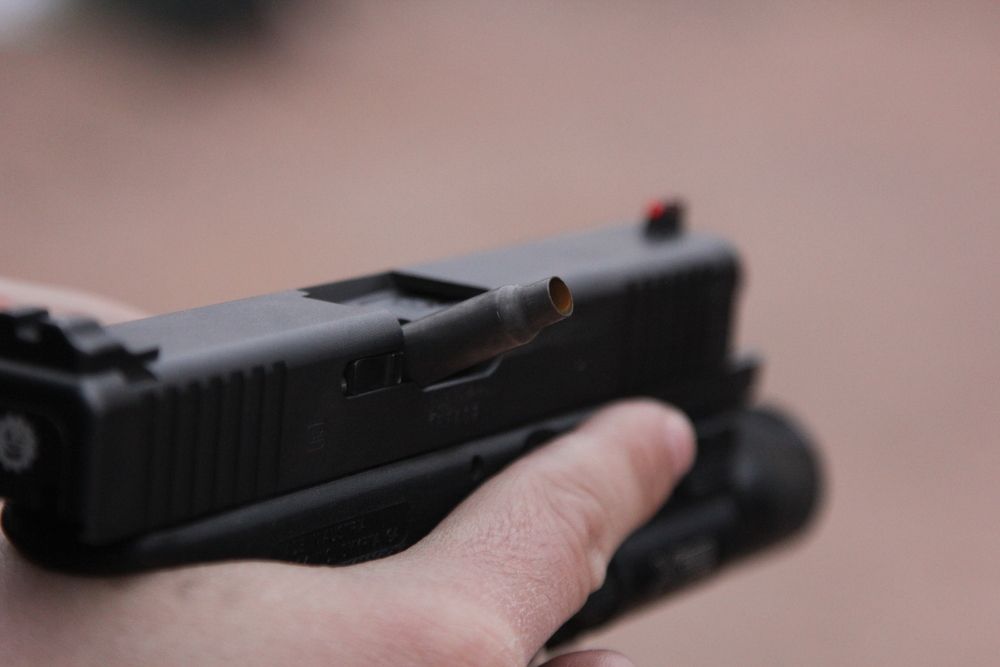
Since I was flying in I came to this class fairly light on gear. I brought my iron sighted G17 to shoot with. I decided to bring the iron sighted gun and leave my usual RMRed Glock at home because I figured I could use some iron sight work and it would be easier to move these skillsets from irons to a red dot than vice versa. A good belt, an Archangel holster and couple of Dale Fricke mag pouches, and ten mags rounded out the ensemble.
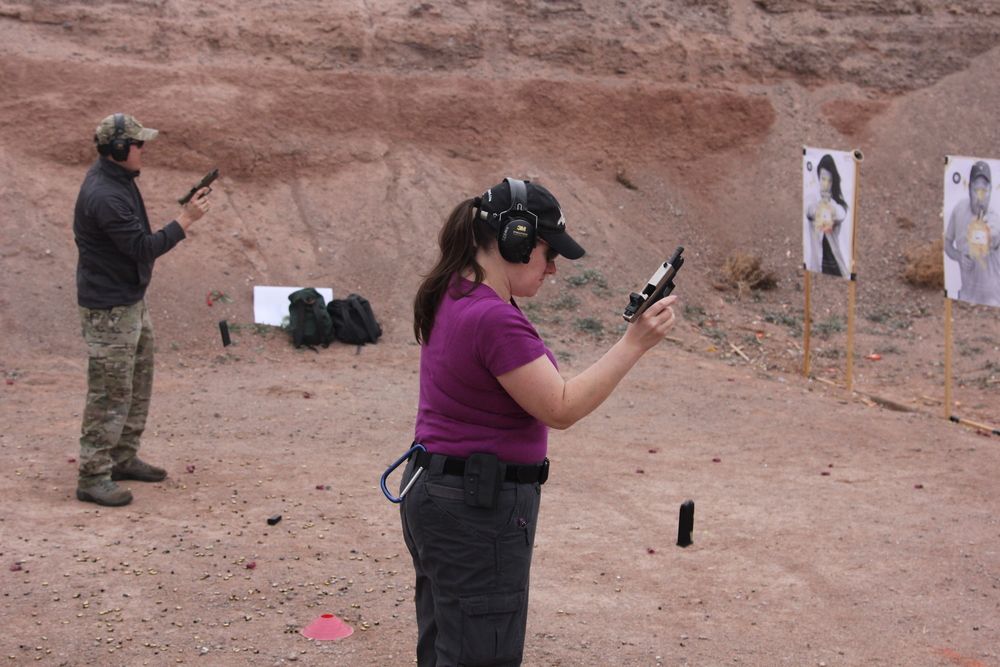
The class was dominated by Glocks, mostly G17s and G19s. There was a smattering of other guns, including a M&P, a SIG, and a PPQ. Most folks were running CCW holsters, although there were two battle belts in evidence.
Saturday
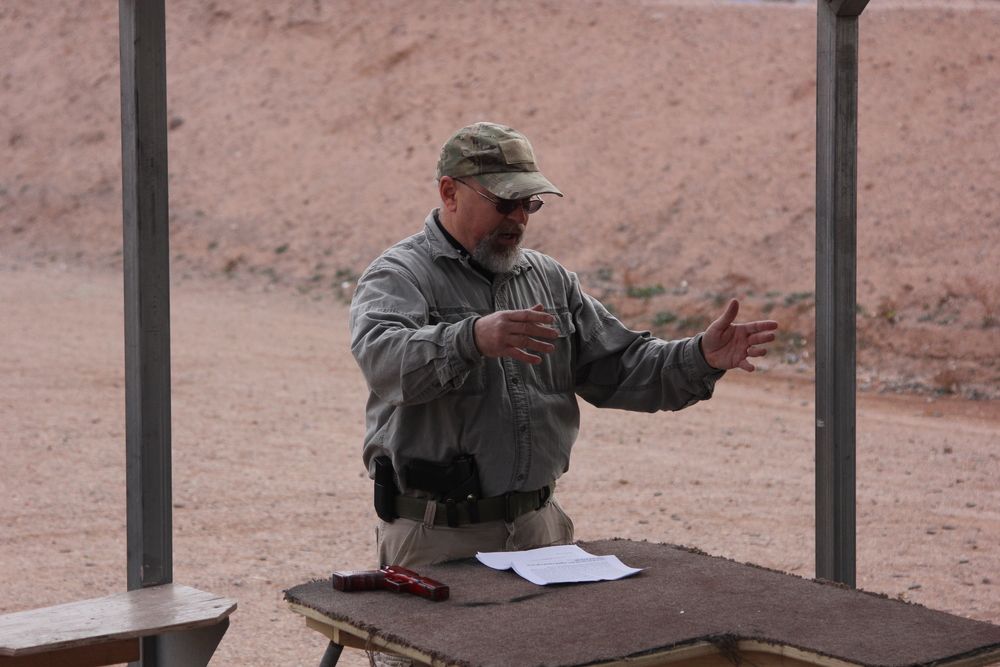
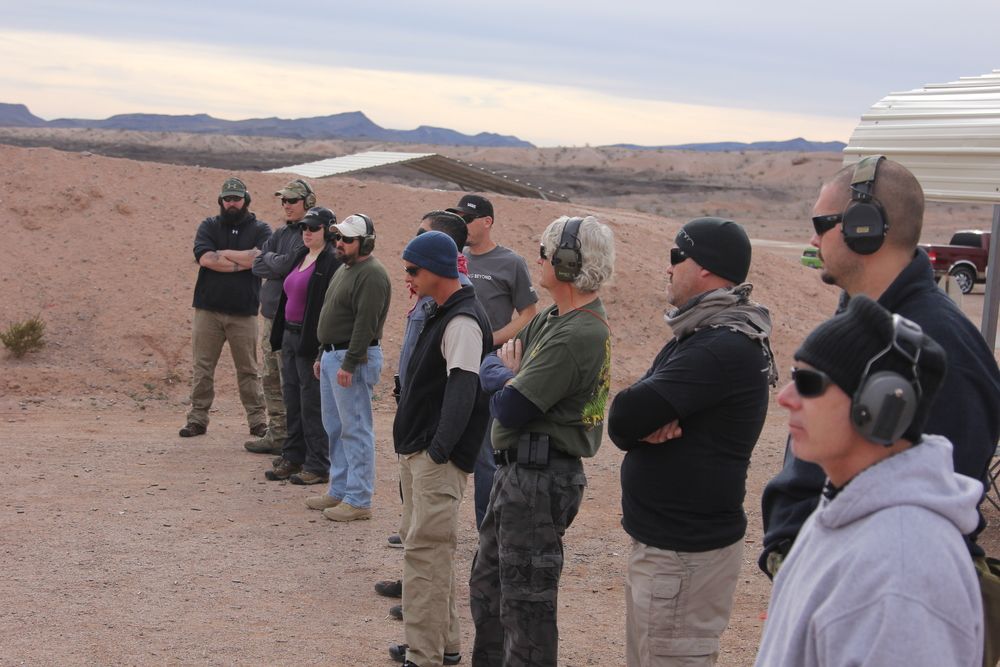
Roger kicked off the class with some introductory material, talking about the need for proactive, sighted fire skills in addition to the reactive point shooting skills that he’s so well known for teaching. In particular he linked this to some of the recent mass shootings and terrorist incidents. Because these sorts of crime target large groups of people, rather than individuals, we won’t necessarily be the immediate focus of the attacker’s attention, giving us the opportunity to be proactive rather than reactive. In addition to these concerns, there’s also the general desire to have a well rounded skill set that covers the complete spectrum of pistol skills. Roger also mentioned that this is a class that he’s wanted to teach for a long time and how glad he was that he’s finally gotten the opportunity.
We moved on to some introductions. I’d met almost all of the students in the class in previous classes (mostly with Roger). There were a couple of new folks. Roger definitely tried to make them feel welcome, but he did feel obliged to warn them that there would probably be some good natured ribbing among folks who’d trained with Roger before (and of course lots of abuse heaped on Michael R).
Roger moved on to the safety lecture, based on the four rules and Roger’s concept of “friends taking care of friends”. He also went over the medical plan, assigning people to render aid (we had a paramedic and a nurse on in the class for that), call 911, safe a downed weapon, etc.
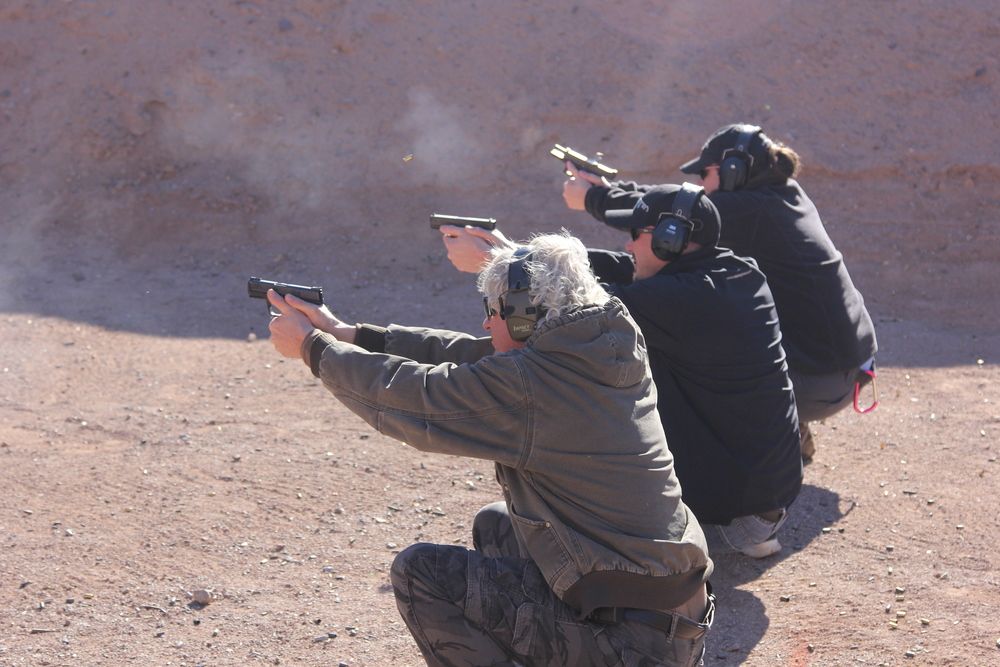
Moving on to the content of the course itself, Roger lead off with a lecture on the fundamentals of pistol marksmanship, starting with stance. As in his point shooting classes, he was very non-doctrinaire about stance, simply advocating an athletic posture (feet shoulder width apart, knees slightly bent) as a good shooting platform.
On the grip, however, he was quite a bit more prescriptive than he usually is in his other classes. He talked about having the primary hand high on the grip, with the web of the thumb up against the tang and the middle finger against the trigger guard. Where he really placed the emphasis was on the support hand (and this class was basically all two-handed shooting). The point here was the camming or thumbs-forward grip. The support hand is rolled forward, extending the thumb out towards the target, leaving the fingers pointed down at about a 45 degree angle. Then use the base of the thumb and palm to fill in the gap between the fingers and thumb of the primary hand (he had a really good way of describing this described as putting two puzzle pieces together. When you shoot, the recoil forces want to move the pistol up and back. This rotation moves the top of the pistol grip back and the bottom of the grip forward. With this grip the web of the primary hand’s thumb keeps the top of the pistol grip from moving back while the pinky of the support hand keeps the bottom of the grip from moving forward.
Now I have to say this grip was not a huge revelation to me. I’ve been shooting like this ever since I stopped being primarily a weaver shooter about five years ago. I think it’s something I picked up from Randy Harris and Alex Nieuwland back when I lived in South Carolina (I do have to say that Roger does a better job of explaining why it works than I’ve seen elsewhere). It was new to a lot of folks though in the class though.
When Roger is teaching point shooting, the mantra is “focal point, focal point, focal point”. For sighted fire, the mantra is “front sight, press.” In talking about the drawstroke for this class, Roger combined the two: “focal point, focal point, front sight, press.” The point being that if you focus on where you want your bullets to end up during the drawstroke, a good draw should deliver the sights right to your line of sight.
After covering these fundamentals, we stepped out on the range for some dry practice. This began with running the drawstroke, then Roger had us throw in a reload, and a reload with retention. While we were working these, Roger talked about the benefits of both slow motion training and overspeed training. Slow motion is exactly what it sounds like, doing a drill or technique in slow motion, allowing you to concentrate on perfect technique rather than speed. He had us do a couple of reps of the drawstroke in slow motion. Overspeed training is the exact opposite: doing a technique as fast as possible (to make doing it at “normal” speed seem leisurely by comparison). With firearms, overspeed training is best done with airsoft or dummy guns, since trying to do things this fast may lead to dropped guns, etc. Once people had plenty of reps with the drawstroke, Roger demonstrated Sul for the new students and we did some dry after action drills. Finally, Roger went through the “four secrets of marksmanship”: sight alignment, sight picture, trigger press, and follow through.
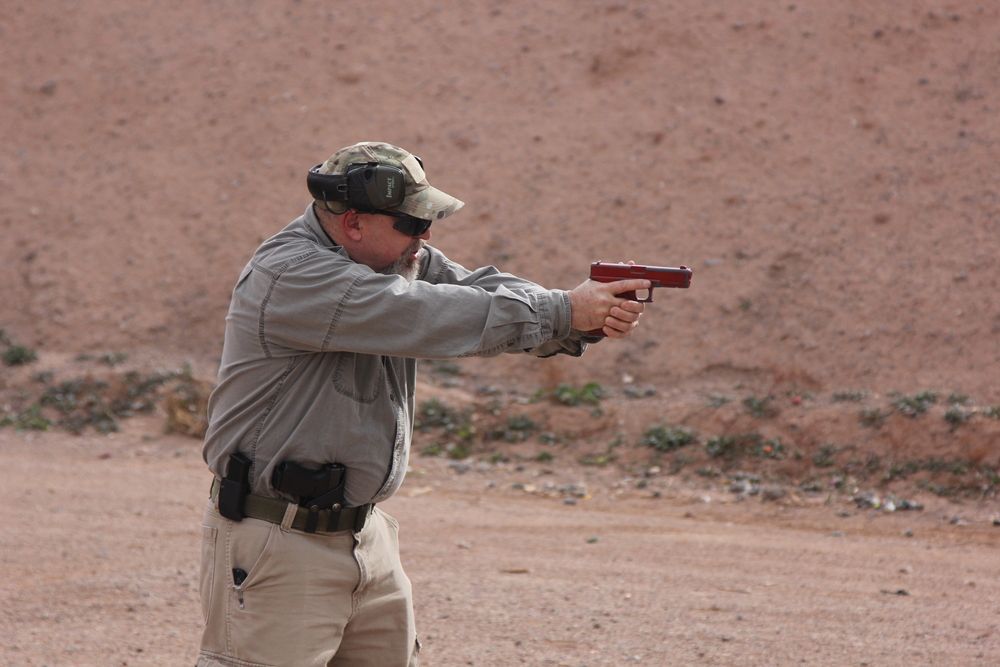
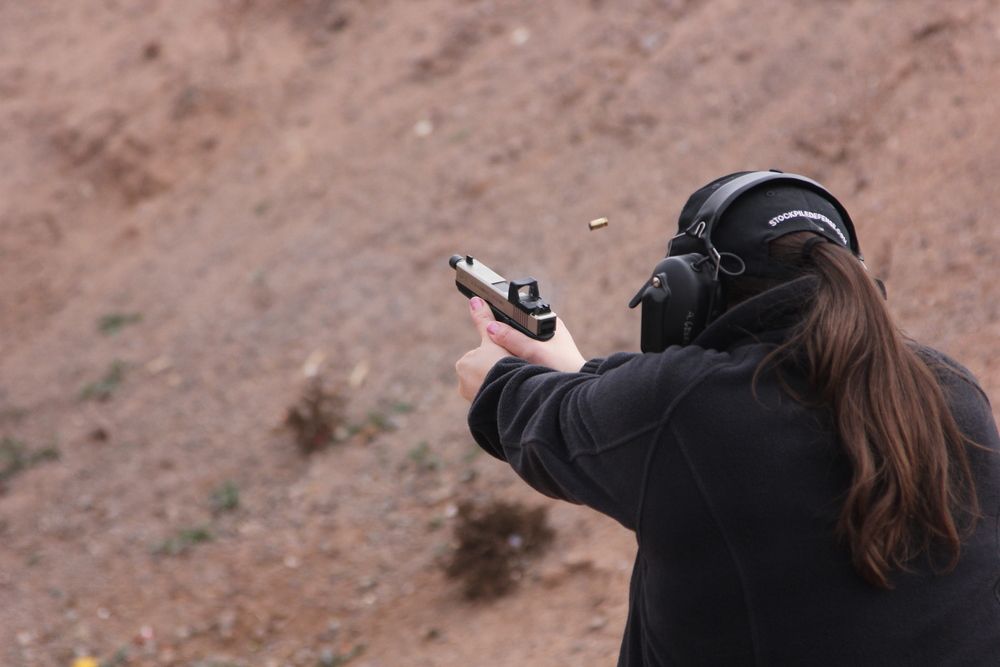
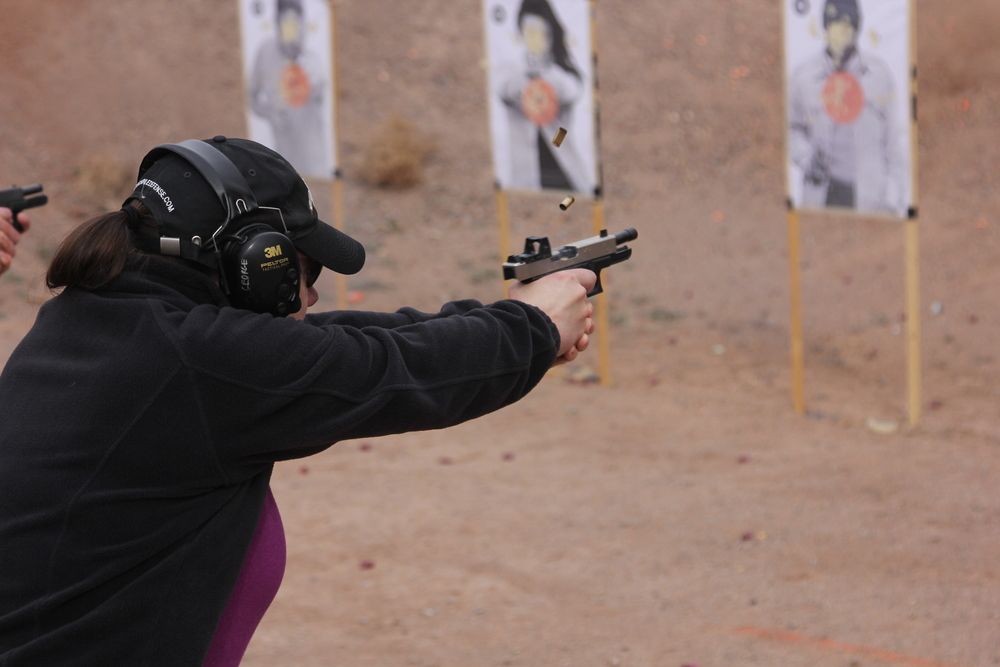
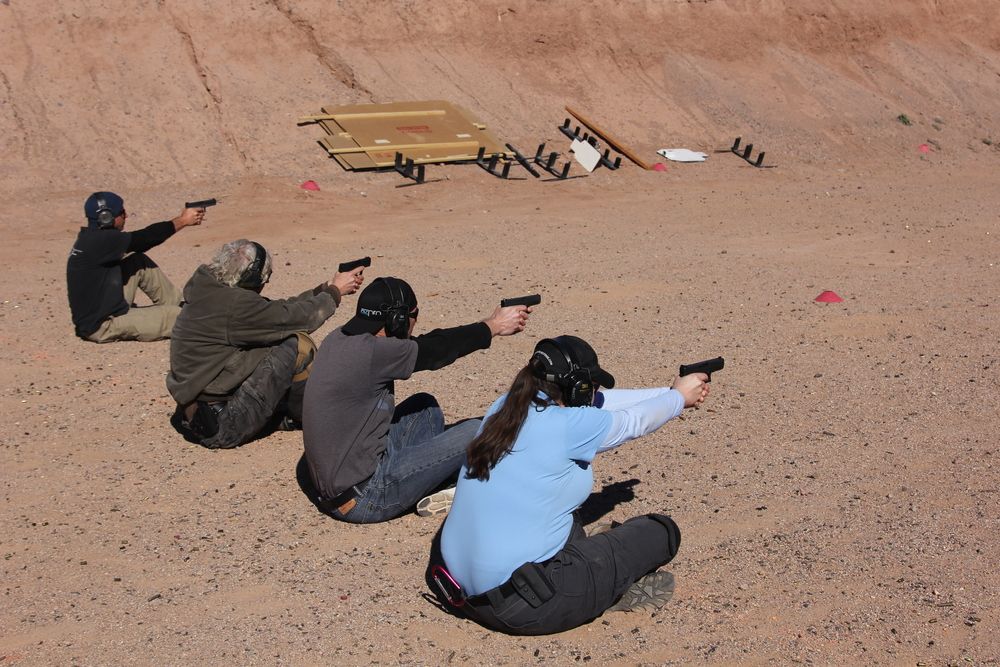
We grabbed ammo, and eye and ear protection and geared up for live fire. Roger started us off with the one-hole drill. This is his usual leadoff drill even in point shooting classes: shoot at your own pace, trying to put five rounds into as small a group as possible (ideally, one single hole) at 5 yards. While shooting this, Roger emphasized the camming grip, encouraging everyone to give it their full effort during the class.
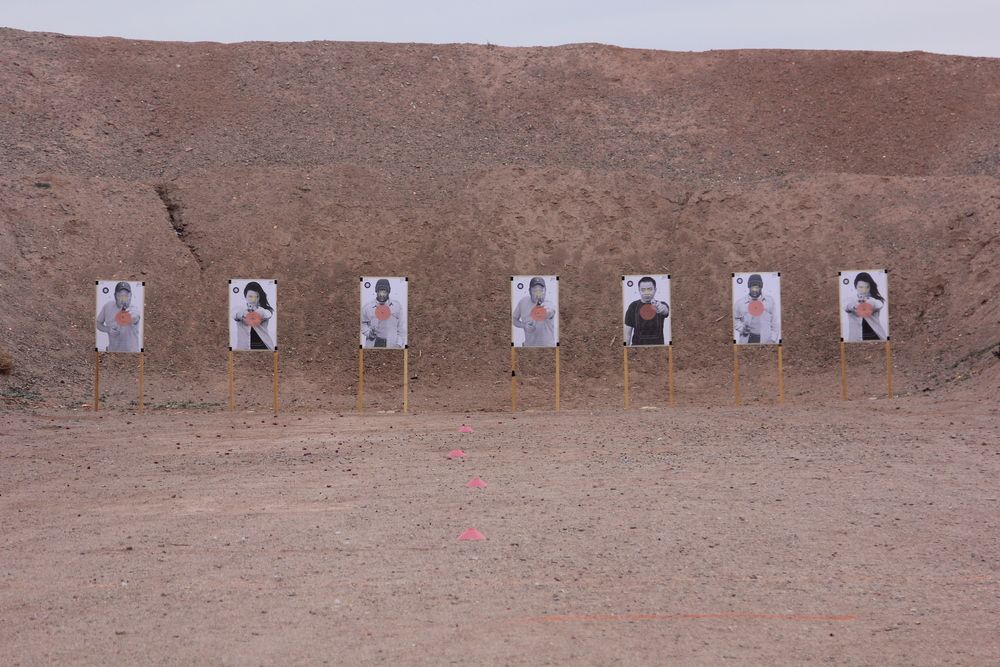
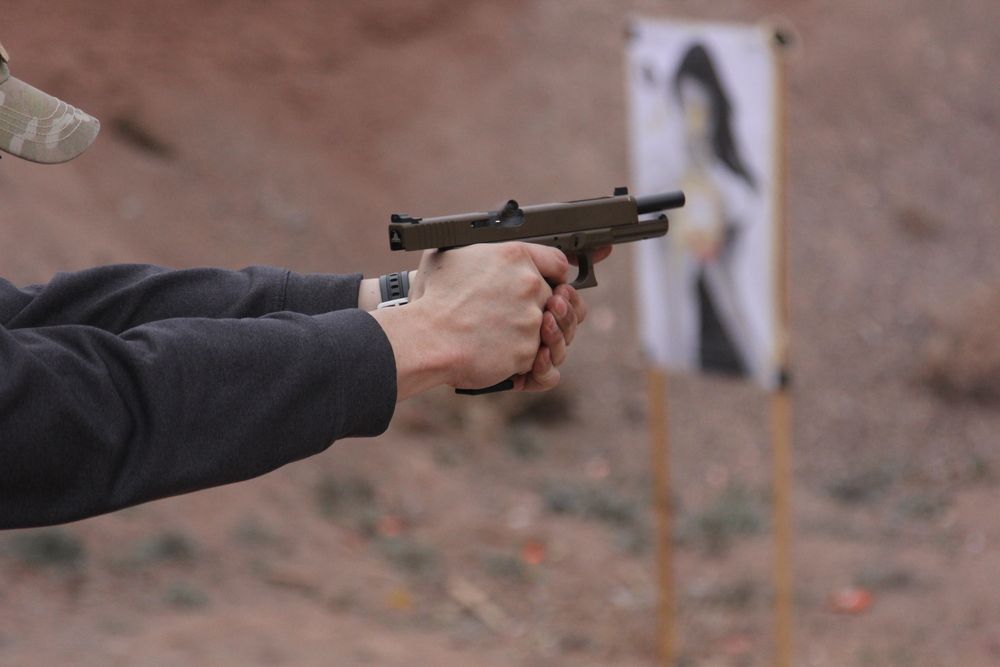
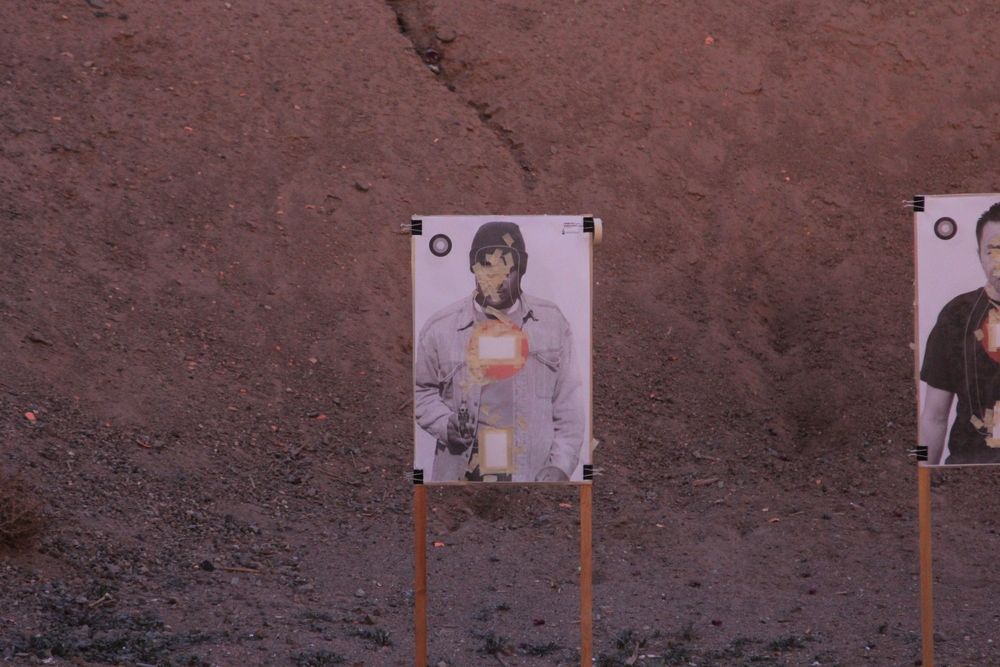
We did the one-hole drill aiming at a small piece of tape placed at a blank spot on the targets, as Roger usually does. For this class, Roger had procured some of his usual photorealistic targets with an inverted triangle superimposed on the face representing the cranio-ocular cavity. They also had larger circle superimposed on the chest, but Roger regarded this as far too large for the standard of accuracy we were aspiring to. He taped index cards in the upper chest as our primary targets (we killed a lot of index cards during this class).
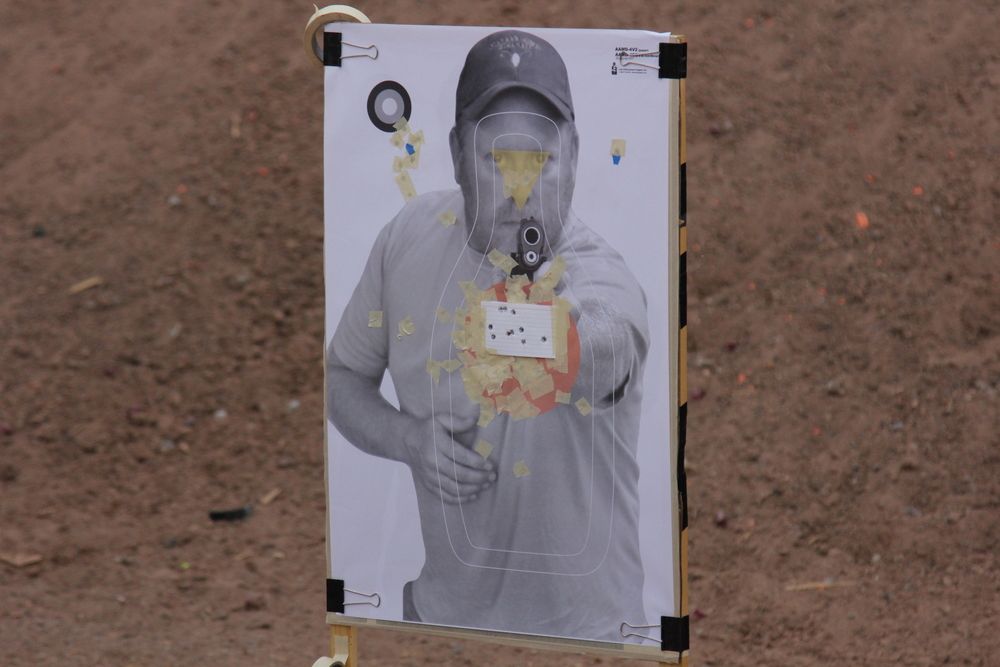
Before moving on to the index cards, however, Roger had us work the drawstroke and fire single shots into the cranio-ocular triangle. After running this one-shot drill a bunch of times, we moved on to pairs, working our trigger reset after each shot. Roger talked a bit about the flash sight picture, explaining the difference between it and the more deliberate sight picture we had been using thus far. He had us switch to the index card on the target’s chest and start shooting bursts using the flash sight picture.
At this point we broke for lunch. During lunch we had a nice surprise: a fellow who goes by JeffC on the Paragon Pride forums showed up. I’d trained with Jeff several times before, as had many of Roger’s other repeat customers in the class. Jeff had driven six hours to come and hang out with us for the afternoon and have dinner with the class. He was planning to stay the night and drive back the next day. It really says something that even though he couldn’t attend the whole class (and didn’t do any shooting) he still drove all that way just to come and see Roger and the people in the class. I’ve often said that the fellowship with like minded individuals is the best part of coming to classes like this, but I’ve never quite put my money where my mouth was on that like JeffC did here.
After lunch Roger talked about what competitive shooters call “Type 2 focus”. Type 2 focus is where sighted fire and point shooting blend together (and indeed, it’s part of the curriculum in Roger’s point shooting classes as well). Essentially Type 2 focus is a flash sight picture, but instead of focusing on the front sight you focus on the target (keeping both eyes open). This is one of the most accurate types of point shooting (just slightly less accurate than a flash sight picture) as well as being a way of adapting sighted fire shooting to some of the physiological challenges of the fight or flight reaction (which include difficulty focusing on closer objects). It’s also a good technique for when aging eyes mean we can no longer focus on the front sight. We shot some burst drills using Type 2 focus.
I initially had some trouble getting Type 2 focus to work (despite having learned it in Roger’s point shooting classes and using it quite a bit since). Then I realized that I’d become so used to doing front sight focus in this class that I was squinting my non-dominant eye to dim it. Once I got both eyes open it came a lot more naturally.
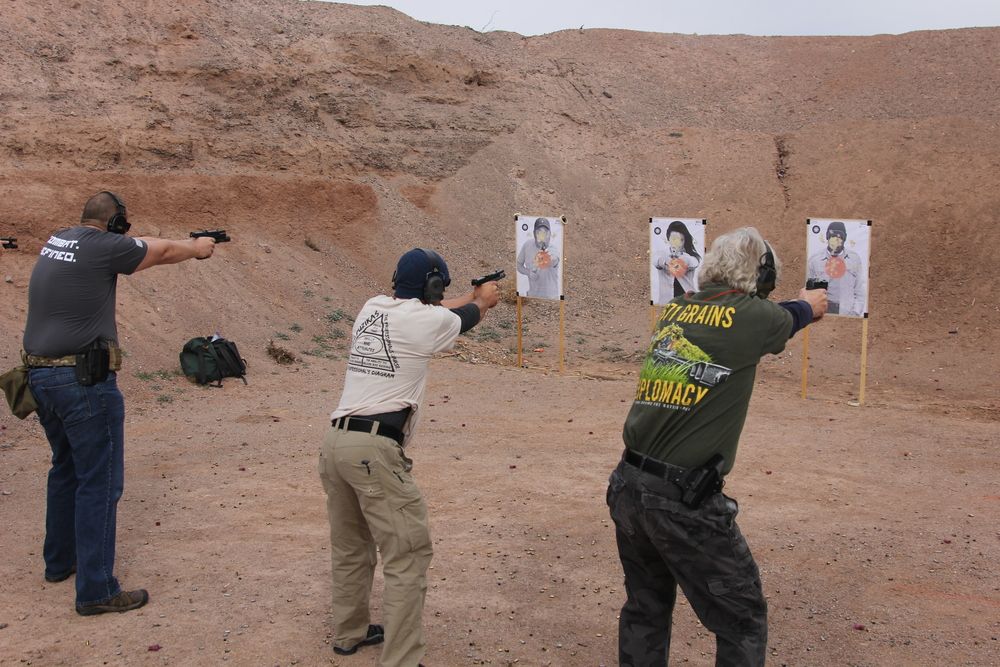
Moving back to sighted fire, Roger had us do some more one-hole drills, bringing us back to the focus on maximum accuracy after previous drills involving bursts and flash sight pictures. We did some more pairs to the cranio-ocular triangle and bursts to the index card on the targets’ chest, forcing us to vary our shooting speed to accommodate the accuracy that was being demanded. All the while Roger moved us further and further from the targets, putting more and more stress on our shooting skills. We maxed out at around 20 yards.
Roger set up another drill with two shooters, three targets each. The shooters started with 6 rounds in the gun and two spare mags with six rounds each. The goal was to put two rounds on the index card on each target, reload, two more per target, reload, and two more per target. This really demanded some speed, accuracy, and good gunhandling skills. Roger intended this to be a single-elimination man-on-man competition, but by the time we’d gotten through all the initial pairings we’d forgotten who had finished first or dropped fewer rounds in most of the previous pairings, so he let it go.
We moved on to malfunctions. Roger gave the standard explanation of Type 1, Type 2, and Type 3 malfunctions, and the responses to all three (tap-rack-flip for Type 1 and 2, rip-rack-reload for Type 3).
One of the unique resources we had in this class was Colby Rupert who goes by ninpo_student on the Paragon Pride forums. Colby is a Army veteran who has quite a bit of experience in the “shooting people” department. At several points in the class, Roger called on Colby to lend his perspective on various subjects we were covering, including malfunctions. Back in the early 2000s, Colby’s unit threw out the “Type X” typeology and classified malfunctions as simple, complex, catastrophic, and destructive. Simple malfunctions are those that can be cleared with a tap-rack-flip (Type 1 and 2). Complex require unloading and reloading the gun (Type 3). Catastrophic malfunctions require tools to fix (badly stuck cases, some types of AR malfunctions). Destructive malfunctions are just that, destructive (time to switch to a new weapon).
Roger had us set up various malfunctions and practice clearing them.
During this process, one of the range officers came over and asked Roger to have police up all the live rounds from the ground, as leaving them lying there might be dangerous. This caused a bit of eye rolling (actual danger from a live round lying on the ground is almost inconceivable) and quite a bit of amusement. These “land mines” became a running gag through the rest of the class.
Our last major subject for the day was failure to stop. The big reason for practicing failure to stop drills is simply that our shots might lack effectiveness (handgun bullets suck, after all), but in the proactive context that we’re talking about for this class also means we might have to worry more about body armor than you would for more ordinary crime.
Colby talked some about how his unit moved to pelvic shots as a response to a failure to stop. I’ve always been a bit skeptical of pelvic shots, particularly with a pistol. Though I have to say, unlike some other instructors who kind of oversold it he did discount the possibility of breaking the pelvic bone with a handgun round.
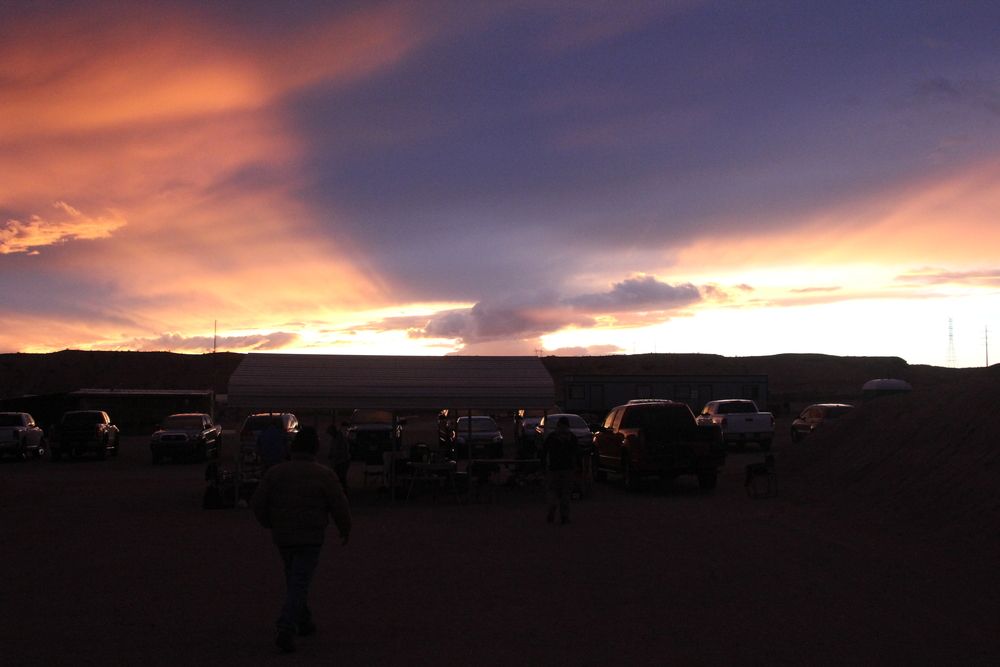
We soon wrapped up for the day. After a pause to allow people to get cleaned up we reconvened at a local barbecue restaurant for some of the great fellowship these classes are known for.
Sunday
While Saturday’s material was mostly focussed on the fundamentals, on Sunday we applied those fundamentals to a more advanced context (this is a pattern that you see in a lot of Roger’s classes). In this case, the advanced applications on Sunday involved positional shooting, cover, and movement.
Roger started out with some lecture about using cover effectively. After he gave his spiel, he invited Colby to talk a bit about the subject. Perhaps the biggest difference between their two perspectives was that Roger generally favors using an ambidexterous skill set when shooting around cover on the support side while Colby prefers keeping the gun in the primary hand.

Colby also talked a bit about how the military’s CQB doctrine has changed since 9/11 based on battlefield experience. The big difference being a shift from a hostage-rescue based approach of needing to get into the room fast and dominate to a much slower, more deliberately paced tactics. This was pretty interesting, though some of it doesn’t apply to the civilian context (we don’t have the option of tossing a grenade into a room or pulling back and bombing the building flat). He also put out the best quote of the class: “A gunfight is a shit sandwich and I want to take the least shitty bite that I can.”
Shooting from cover is often going to require something other than a standard standing position, so we moved into some practice with different shooting positions. For all of the positions, the pattern was pretty similar: Roger demoed it, then we practiced getting into the position using our “finger guns”, then went live.
First up was squatting. Doesn’t add much stability, but it’s good for quickly lowering your profile or getting behind low cover. One of the students had a bit of clothing-related difficult in assuming this position, leading to the second-best quote of the class: “Don’t wear skinny jeans to a gunfight.”
One of the things Roger emphasized with all of these positions was being able to do an after action drill. We did at least one after-action during each string of live fire. Some of these positions present unique issues: How do you look behind you when you’re prone or down on your knees? For those of us who are used to dropping partially expended mags in our pockets, getting them in there when kneeling or prone can be a challenge. It may be best to ground the mag while you run through the other steps in the after action drill and grab it before you stand up.
Speaking of standing up, another point that Roger emphasized was making sure you scan every time you change your elevation. When you go from kneeling to standing (or prone to kneeling) you can see stuff that you couldn’t see before, and potential bad guys can see you who couldn’t before you raised your profile. It’s important to scan each time to check for any newly visible threats.
The second position was kneeling, which in addition to lowering your profile also offers additional support if you can put your support side elbow on your knee (though not nearly as much support as a rifle would in the same position).
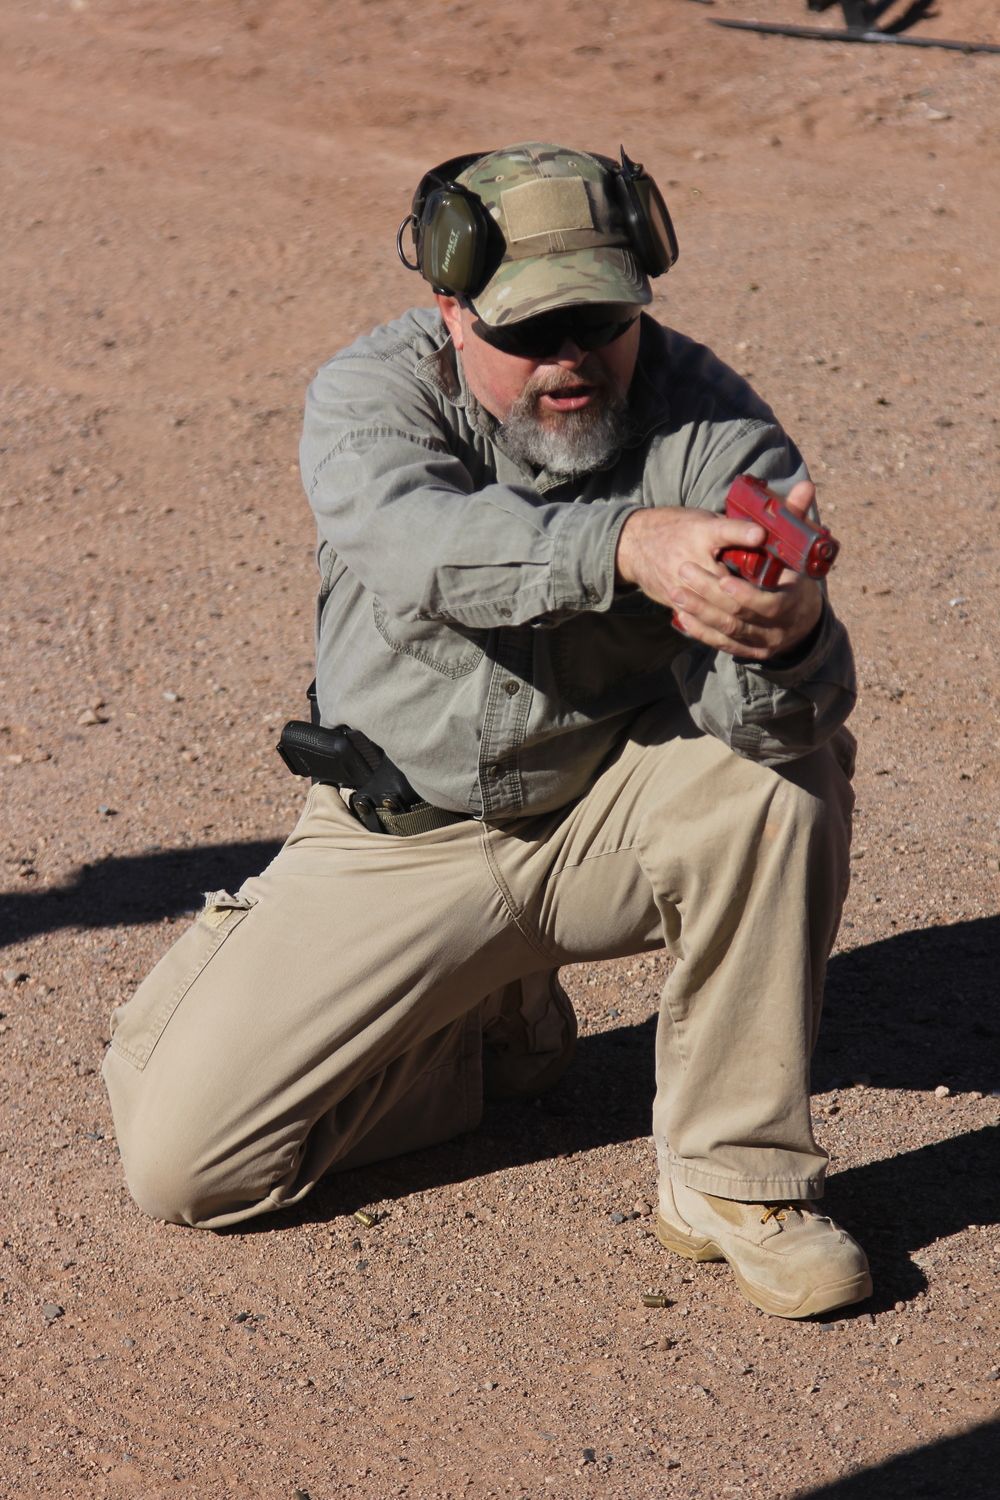
One gear note: I definitely appreciated the knee pads I brought. I didn’t bother with my elbow pads (a long sleeve shirt helped with that) but I really wished I would have brought some gloves. Using the support hand to help get down to prone or get back up wasn’t the most pleasant on the graveled surface of the range.
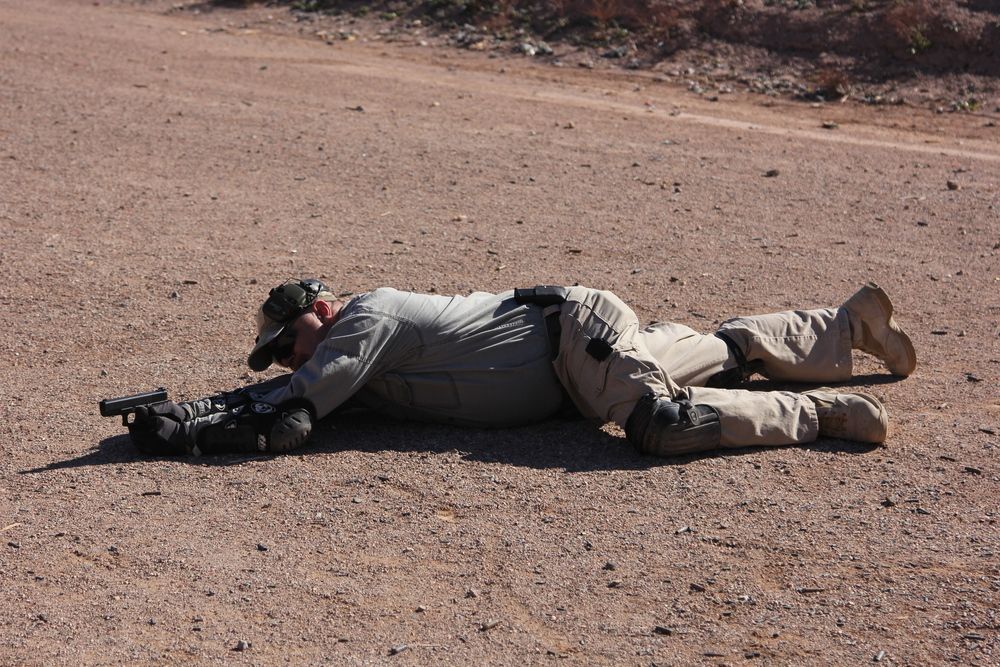
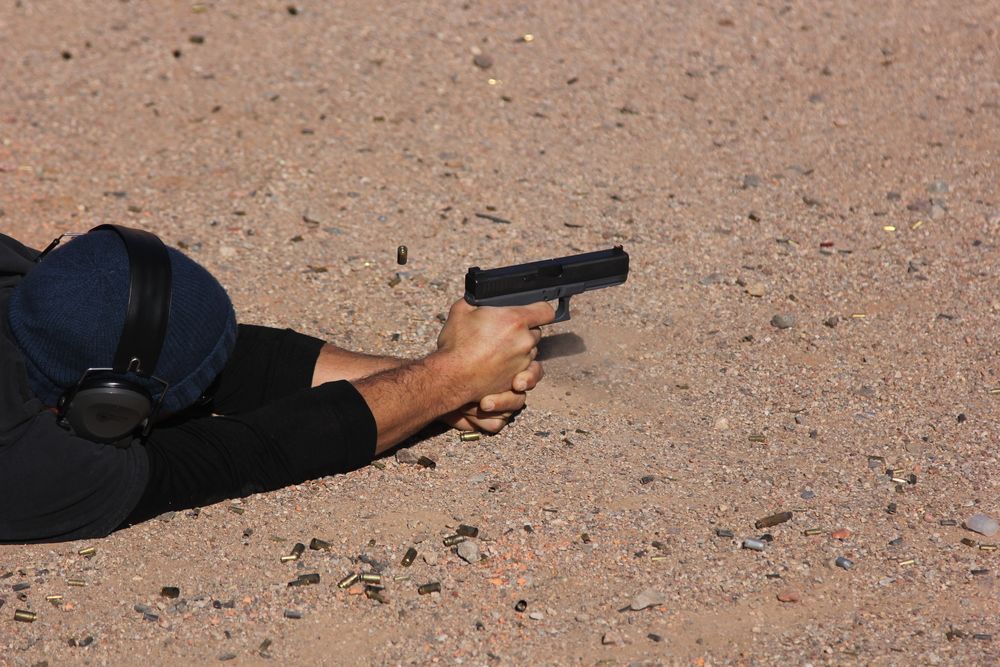
Moving on to prone, Roger demoed rollover prone for us. The classic rollover prone has the entire primary arm extended straight and rested flat on the ground. Colby mentioned an interesting technique: putting the support hand beneath the butt of the gun and interlacing the primary hand pinky with the support hand index finger. You can then use the middle, ring, and pinky fingers on the support hand to vary the elevation. This gives more options for elevation when shooting a pistol from a prone position.
Next up was the sitting position. I really don’t find this near as useful with a pistol as I do with a rifle.
At this point we broke for lunch. We had a bit of something special to do during lunch today, though. Colby is one of the principals in Deus Ex Machina, which makes aftermarket parts for Glocks, and he brought some toys to show off: mostly Glocks with their flat and straight trigger and their magwell installed. I had a chance to do some dry fire and to run some live rounds through one of these guns. The aftermarket trigger definitely makes a difference in the trigger feel and the reset. I’ll be picking one of these up for T&E. The gun I shot also had a KKM compensator on it. I’ve not generally been a fan of compensated pistols, but it definitely keeps the gun flatter during rapid fire.

After lunch, we picked back up with urban prone (differing from rollover prone primarily in that you are more on your side, with your body pointing at about 90 degrees to the line of fire rather than angled to the rear).
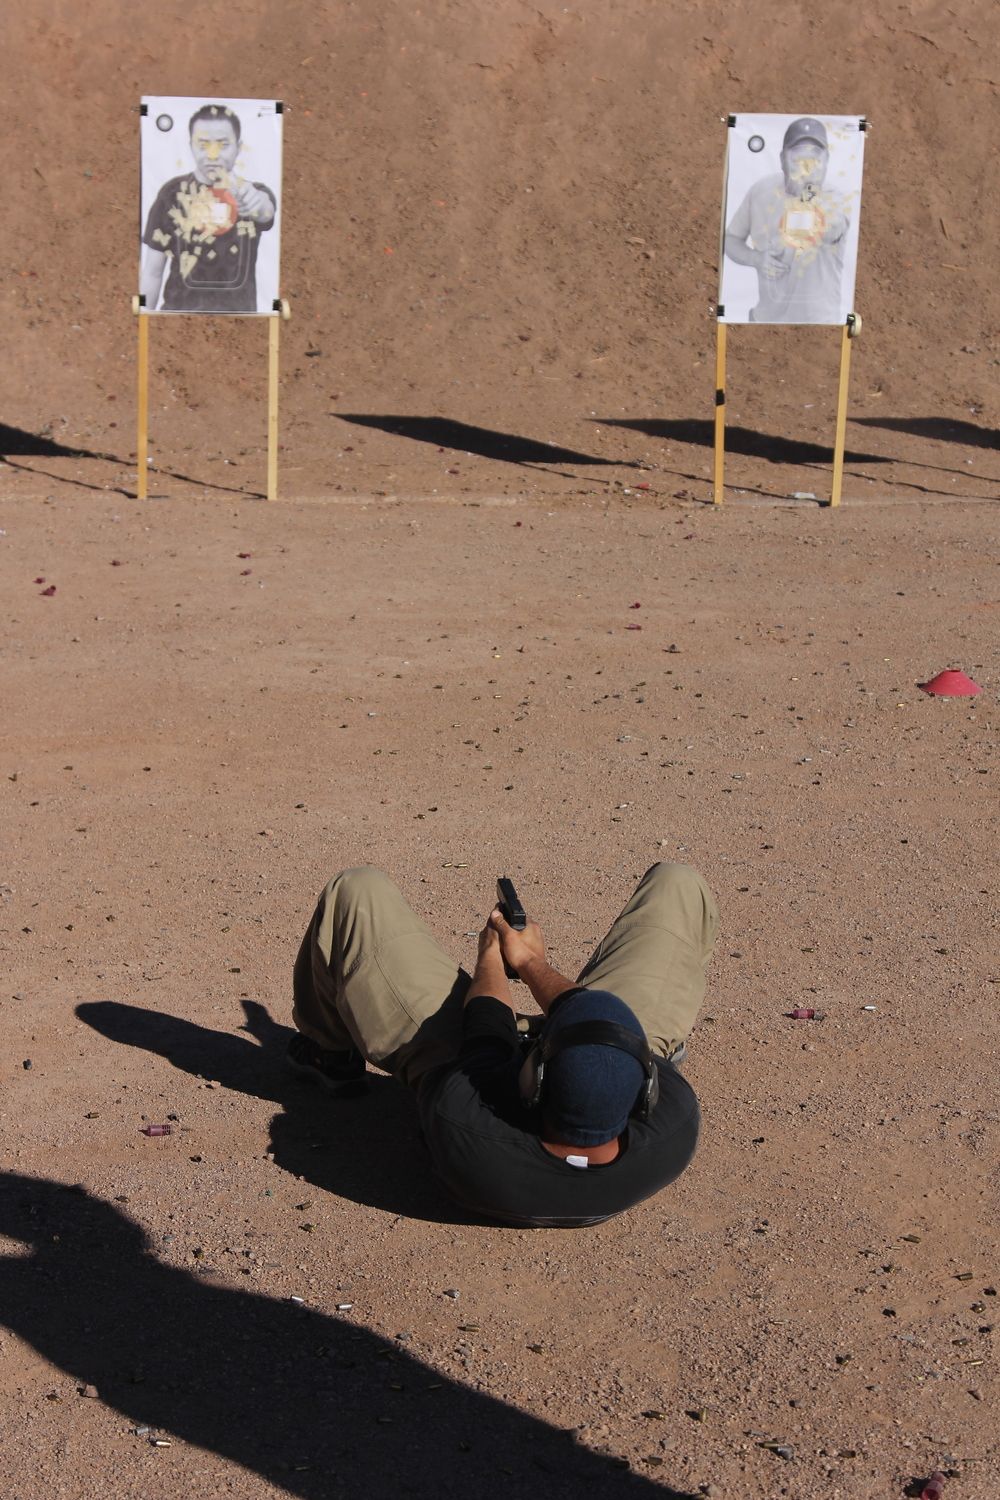
Our last position was supine: flat on our back with the feet toward the target. Roger also took some time to explain how to get up from being on your back without taking your gun off the target or leaving yourself vulnerable to a close-in adversary. This one we did several times dry before going live.
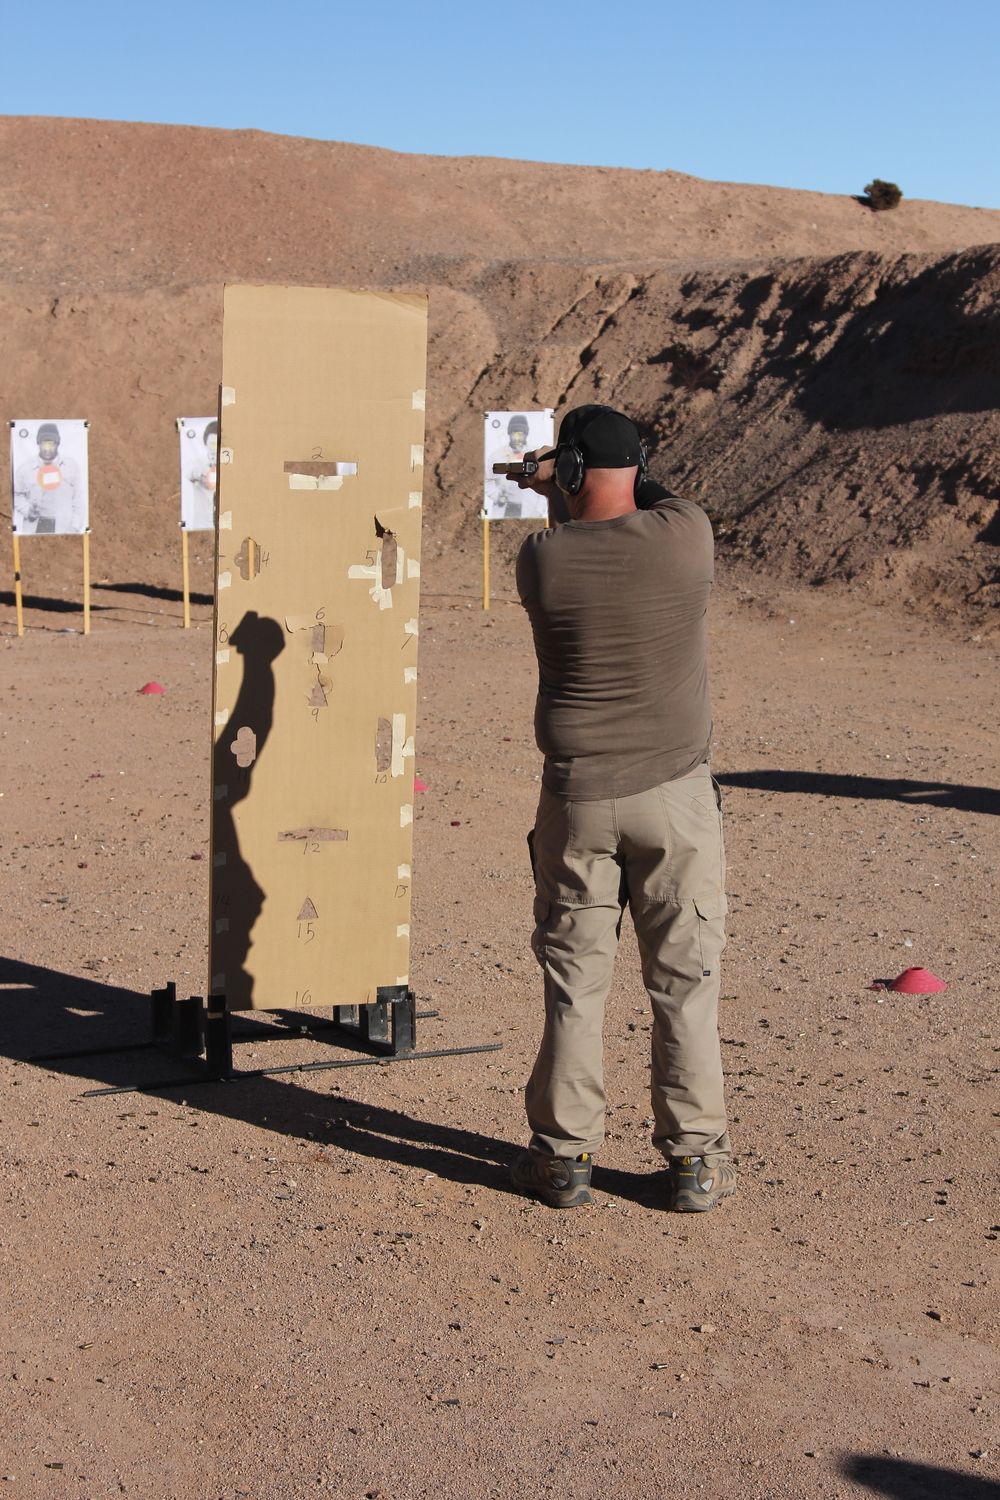
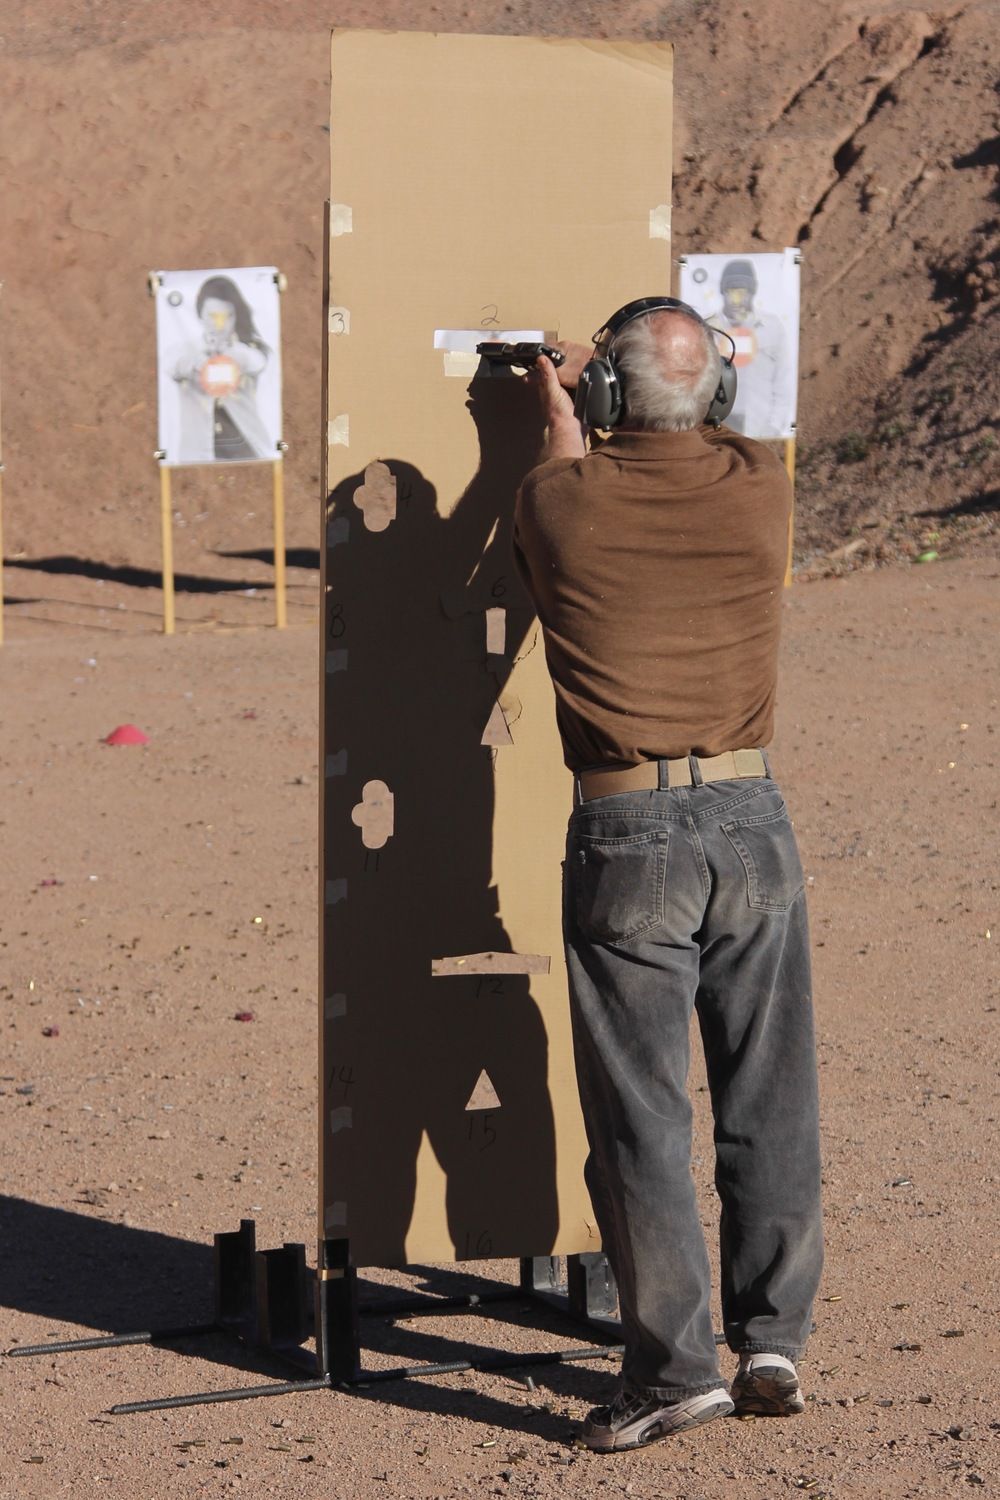
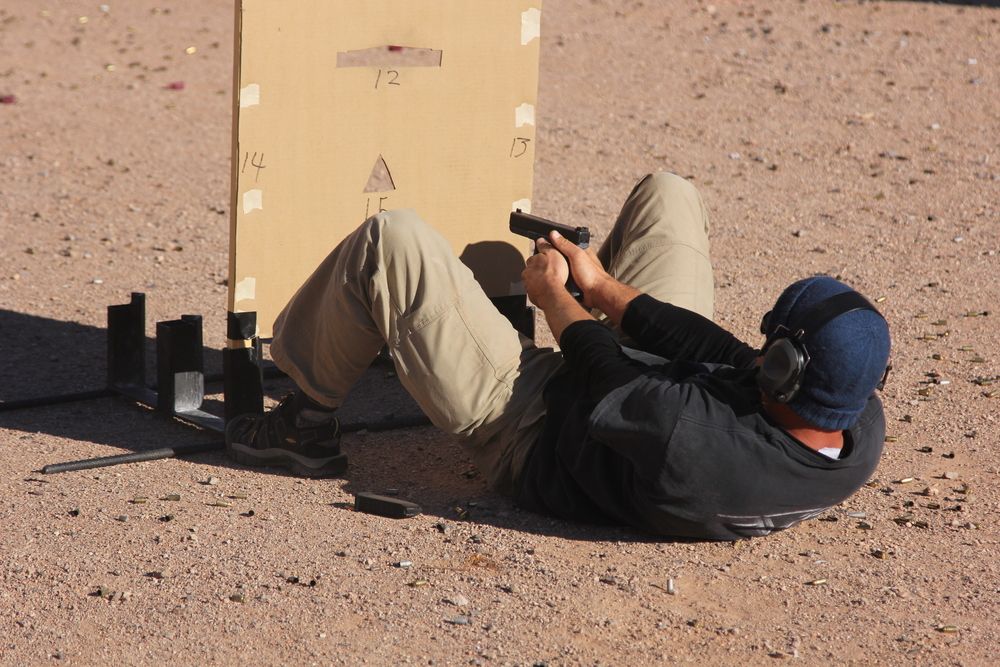
Finally, Roger brought out a couple of barricades with various numbered shooting positions on them. We had to move through the shooting positions in order, using all of the positions that we’d covered (and some we hadn’t) to put rounds on target from all 16 positions.
Next up we moved on to moving and shooting. Shooting on the move is a staple of Roger’s point shooting classes, but what we were doing in this class is a very different sort of thing. Rather than dynamic movement this is a very controlled, proactive sort of shooting. It prioritizes a stable shooting platform over rapidity of movement.
We started out moving directly in on the targets, going from 25 yards up to about 10 yards. We did this lined up in our relays and Roger had a person from the non-shooting relay grab on to the shooter’s shirt so they could either push to speed them up or pull to slow them down, keeping everyone roughly in line.
After both relays had a couple of tries at it, we switched to moving backward. Backpedaling is a habit that Roger really tries to break people of in the point shooting classes in part because when you’re trying to do it quick it’s so easy to trip and end up on your back if you encounter an obstacle. At the much slower speeds that we were working at in this context that’s less of a problem since it’s much easier to recover without falling. Roger also demonstrated dragging your toes as you step backward to make it easier to feel for something you might trip on (basically doing the moonwalk).
I was paired up with Colby for these drills drill and when he was on the line I was either hauling back on his shirt when he was moving forward or stiff arming him from the rear when he was moving backwards. He definitely wanted to run this at a faster pace than anyone else on the line (after we’d done the drill Roger let him do a rep solo, at his own pace).
Next Roger brought out some steel (generously provided by Georro and GlockGal) for some lateral movement drills. We started off going from left to right (moving in the 3 o’clock direction) about 10 yards from the target line and shooting at the steel target in the center all the way across. This one we ran one at a time in succession rather than all at once. After everyone had a couple of runs we ran the same drill again moving right to left (9 o’clock).
The challenge here wasn’t just moving but in keeping your gun trained on the target as you move across the range and the angle becomes more extreme. This is essentially the same sort of problem you encounter when busting off the X at close range. However, the longer distance and higher accuracy required mean that some solutions don’t work as well (going one-handed for instance) while other solutions that would not work when busting off the X like sidestepping or unwinding and backpedaling become viable options. Roger encouraged us to try sidestepping on one of our runs, but I found it rather unnatural. Starting off doing the tank turret then unwinding and shifting to a backpedal was much more natural.
When we were initially discussing controlled movement, ninpo had said that while they practiced moving and shooting a lot, he Colby not really done much of it in combat (outside of CQB). It was much more common to move quickly to a shooting position, then stop and take some shots.
To give us a feel for this Roger set up a drill with two cones on the left and right sides of the range about the ten yard line and two about the 20 yard line, forming a square. The shooter started back about 30 yards and ran up to the left rear cone, stopped and drew, and fired a few shots at the target. Then they ran to the right rear cone and fired another burst. Up to the right front cone and a burst, then over to the front left cone and another burst. Then the shooter turned and moved uprange back to the initial left rear cone (being careful to either holster or use Sul to avoid muzzling everyone behind you, of course) and turned and fired a final burst. This was definitely a lot quicker than trying to get these hits on the move would have been.
Finally we did some diagonal movement drills. Starting at 20 yards in the center of the range we had shooters move diagonally to the forward-left or forward-right to about the 10 yard line, firing as they moved. We finished up doing the same thing in reverse, moving from the edge of the range at 10 yards to the center at 20 (going to the left-rear oblique or the right-rear oblique).
These definitely aren’t bust off the X drills and at least at the distances and level of accuracy being demanded here, I think the “move-stop-shoot” approach is probably going to be superior most of the time.
These drills were our last and finished up the class for us. Roger passed out the certificates and we got the targets broken down. Everyone packed up their gear and said their goodbyes to Roger and our fellow students, then headed out.
Conclusion
First off, great class! I’d been looking forward to taking a sighted fire class from Roger for a long time, so I went in with some high expectations. This class definitely lived up to them. Roger clearly has a very deep understanding of how to deliver effective sighted fire, and he did a good job of conveying that to the students. He consistently pushed students towards high standards of accuracy and worked with each student to help them achieve those standards.
Having Colby in the class was a great bonus. At Roger’s invitation he contributed some great insights and teaching points (and a couple of great quotes). I was also happy to be able to see and try some of the hardware he’s selling; I can see an order in my future. The great news is that this is not the end for this collaboration: Colby and Roger will be teaching a rifle class together in early April.
The class definitely exposed some things I need to work on. Despite having predominantly run a red dot for the past few years my issues were more trigger related than iron sight issues.
Finally, it was great to see all the folks I’d trained with before our there in Vegas. They came from far afield for this class, but JeffC really put it over the top by showing up just for the fellowship on Saturday afternoon and evening.